LED
Visit the official repository to download the example code and get the latest version.
The big LED is not part of the Seeed Studio TinyGo XIAO Starter Kit, it’s just a big LED. It was the first component of this project.
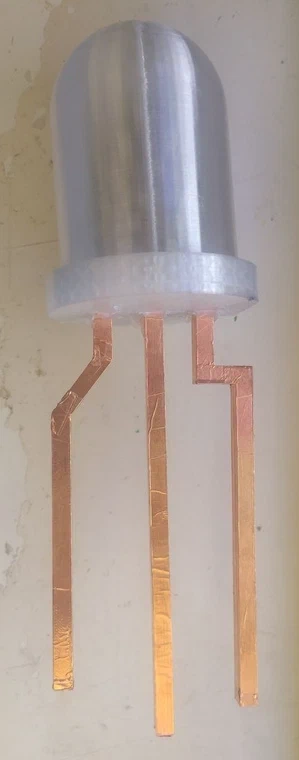
The giant LED.
The concept
Inside the LED there’s an individually addressable WS2812 LED strip as it would be hard to really create a giant LED. While not strictly accurate to the regular sized ON/OFF LED session, this is way funnier..
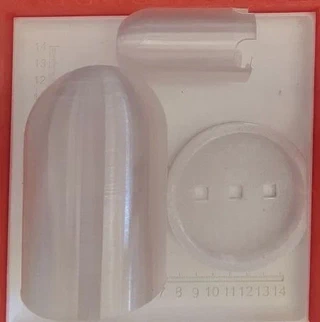
Parts of the LED printed in “clear” PETG.
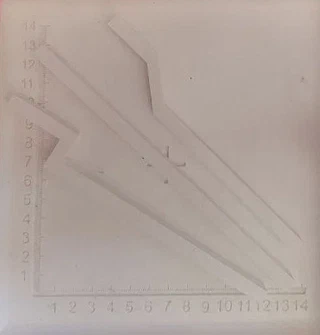
Pins could be print in any other color/material.
Step 1: cover the pins
Cover the pins with adhesive copper tape.
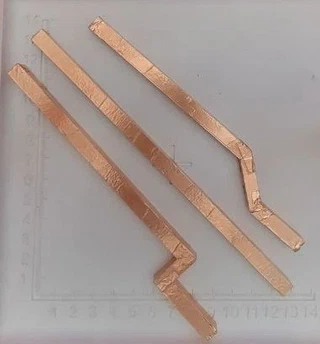
Use a wide enough tape, so it stick to itself around the pin.
Step 2: glue the WS2812 LED strip
Glue the WS2812 LED strip to the center piece. Use hot-glue as CA glue has a hard time attaching to PETG (feel free to use it if you use PLA.
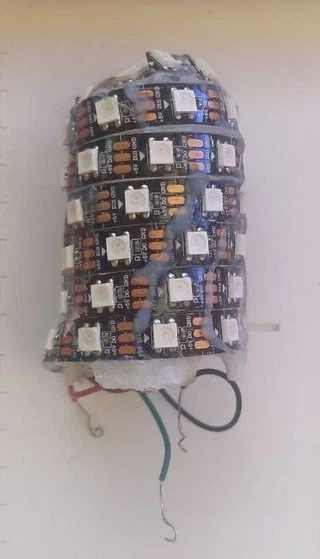
Glue the pins too at the base of the LED, use as much glue as needed.
Step 3: wiring
Solder the three wires to the copper pins (on the top side). More glue to finally put the inside with LEDs in place. Left a minute to set. Time for a working check before glueing the outshell of the LED.
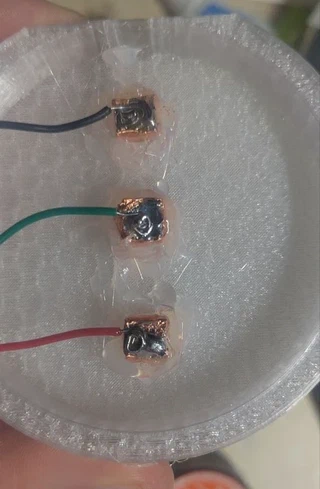
The result
Bill of materials
- Standard PETG filament (transparent for better results)
- Hot glue
- Copper tape
- WS2812 LED strip
Files
The printable parts live in this folder: LED.STL.